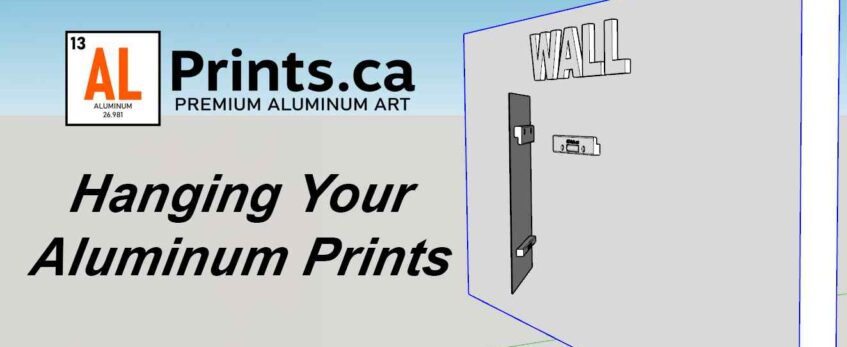
How to Hang Your Aluminum Prints with Our Ghost Mounts
Follow these simple steps to securely hang your custom aluminum prints using our innovative 3D-printed ghost mounts! Designed for versatility and style, ghost mounts elevate your artwork by creating a stunning floating effect on your walls. Whether you prefer the included Command Strips for no-damage hanging or the drywall anchors and screws for a more permanent installation, our ghost mounts provide the perfect combination of functionality and elegance.
Why Choose Ghost Mounts?
- Floating Effect: Ghost mounts create a sleek, modern “floating” appearance by subtly raising your prints off the wall, giving your artwork a professional, gallery-quality look.
- Versatile Installation: Suitable for smooth or textured walls, ghost mounts can be installed using either Command Strips for a no-damage solution or drywall anchors and screws for more permanent installations.
- Built-In Level: Say goodbye to crooked artwork! Our ghost mounts feature a built-in level for precise and stress-free alignment every time.
- Reusable Design: The mounts allow you to easily swap prints, making it effortless to refresh your space with new designs or seasonal artwork.
- Durable & Lightweight: Made from high-quality 3D-printed materials, ghost mounts are both strong and lightweight, ensuring your prints are securely held without adding unnecessary bulk.
Step-by-Step Installation Guide
Step 1: Choose Your Mounting Option
Decide which installation method suits your wall type and preferences:
- Command Strips: Ideal for clean, smooth surfaces and spaces where avoiding wall damage is a priority.
- Drywall Anchors & Screws: Perfect for textured walls or when a stronger, more permanent setup is needed.
Step 2: Prepare Your Wall
- For Command Strips: Clean the wall with a damp cloth to remove dust and debris. Allow it to dry completely for the best adhesive performance.
- For Drywall Anchors & Screws: Gather your tools (e.g., drill) and prepare to create preholes for the anchors.
Step 3: Mark the Center
Mark the center point where you’d like to hang your print using a pencil or light marking tool. This step ensures perfect placement for your artwork.
Step 4: Attach the Ghost Mount
- Level the Mount: Use the built-in level to ensure the mount is perfectly straight.
- Secure the Mount:
- Command Strips: Peel off the backing and press the mount firmly against the wall for at least 30 seconds.
- Drywall Anchors & Screws: Drill preholes at your marked points, insert the anchors, and screw the mount securely into place.
Step 5: Hang Your Print
Align the back of your aluminum print with the ghost mount and hang it securely. Double-check that it’s level, and you’re done! Step back and admire your perfectly mounted, floating aluminum print.
Pro Tips for the Perfect Setup
Create a Gallery Wall with Ease
Transform your space into a professional gallery by hanging multiple prints in a row:
- Use the built-in level on the first mount for perfect alignment.
- Once mounted, draw a light horizontal pencil line across the wall using a straight edge or yardstick for additional mounts.
- Follow the same steps to install the remaining prints, aligning them with the guideline.
- Erase the pencil guideline with a soft eraser for a polished finish.
Easily Swap Prints Anytime
Thanks to the reusable design of our ghost mounts, switching out your prints is a breeze! Whether you’re updating your décor for a special event or rotating seasonal designs, our mounts make it simple to refresh your space without the hassle.
Video Tutorial
Prefer a visual guide? Watch our step-by-step video tutorial to see just how easy it is to hang your ALPrints.ca aluminum prints with ghost mounts!


1 Comment
[…] Ghost Mounting System […]